 Before I decided to start this blog I took some pictures during the process of building my workbench, so I thought it would make sense to put them up here with a quick write up of the build process.
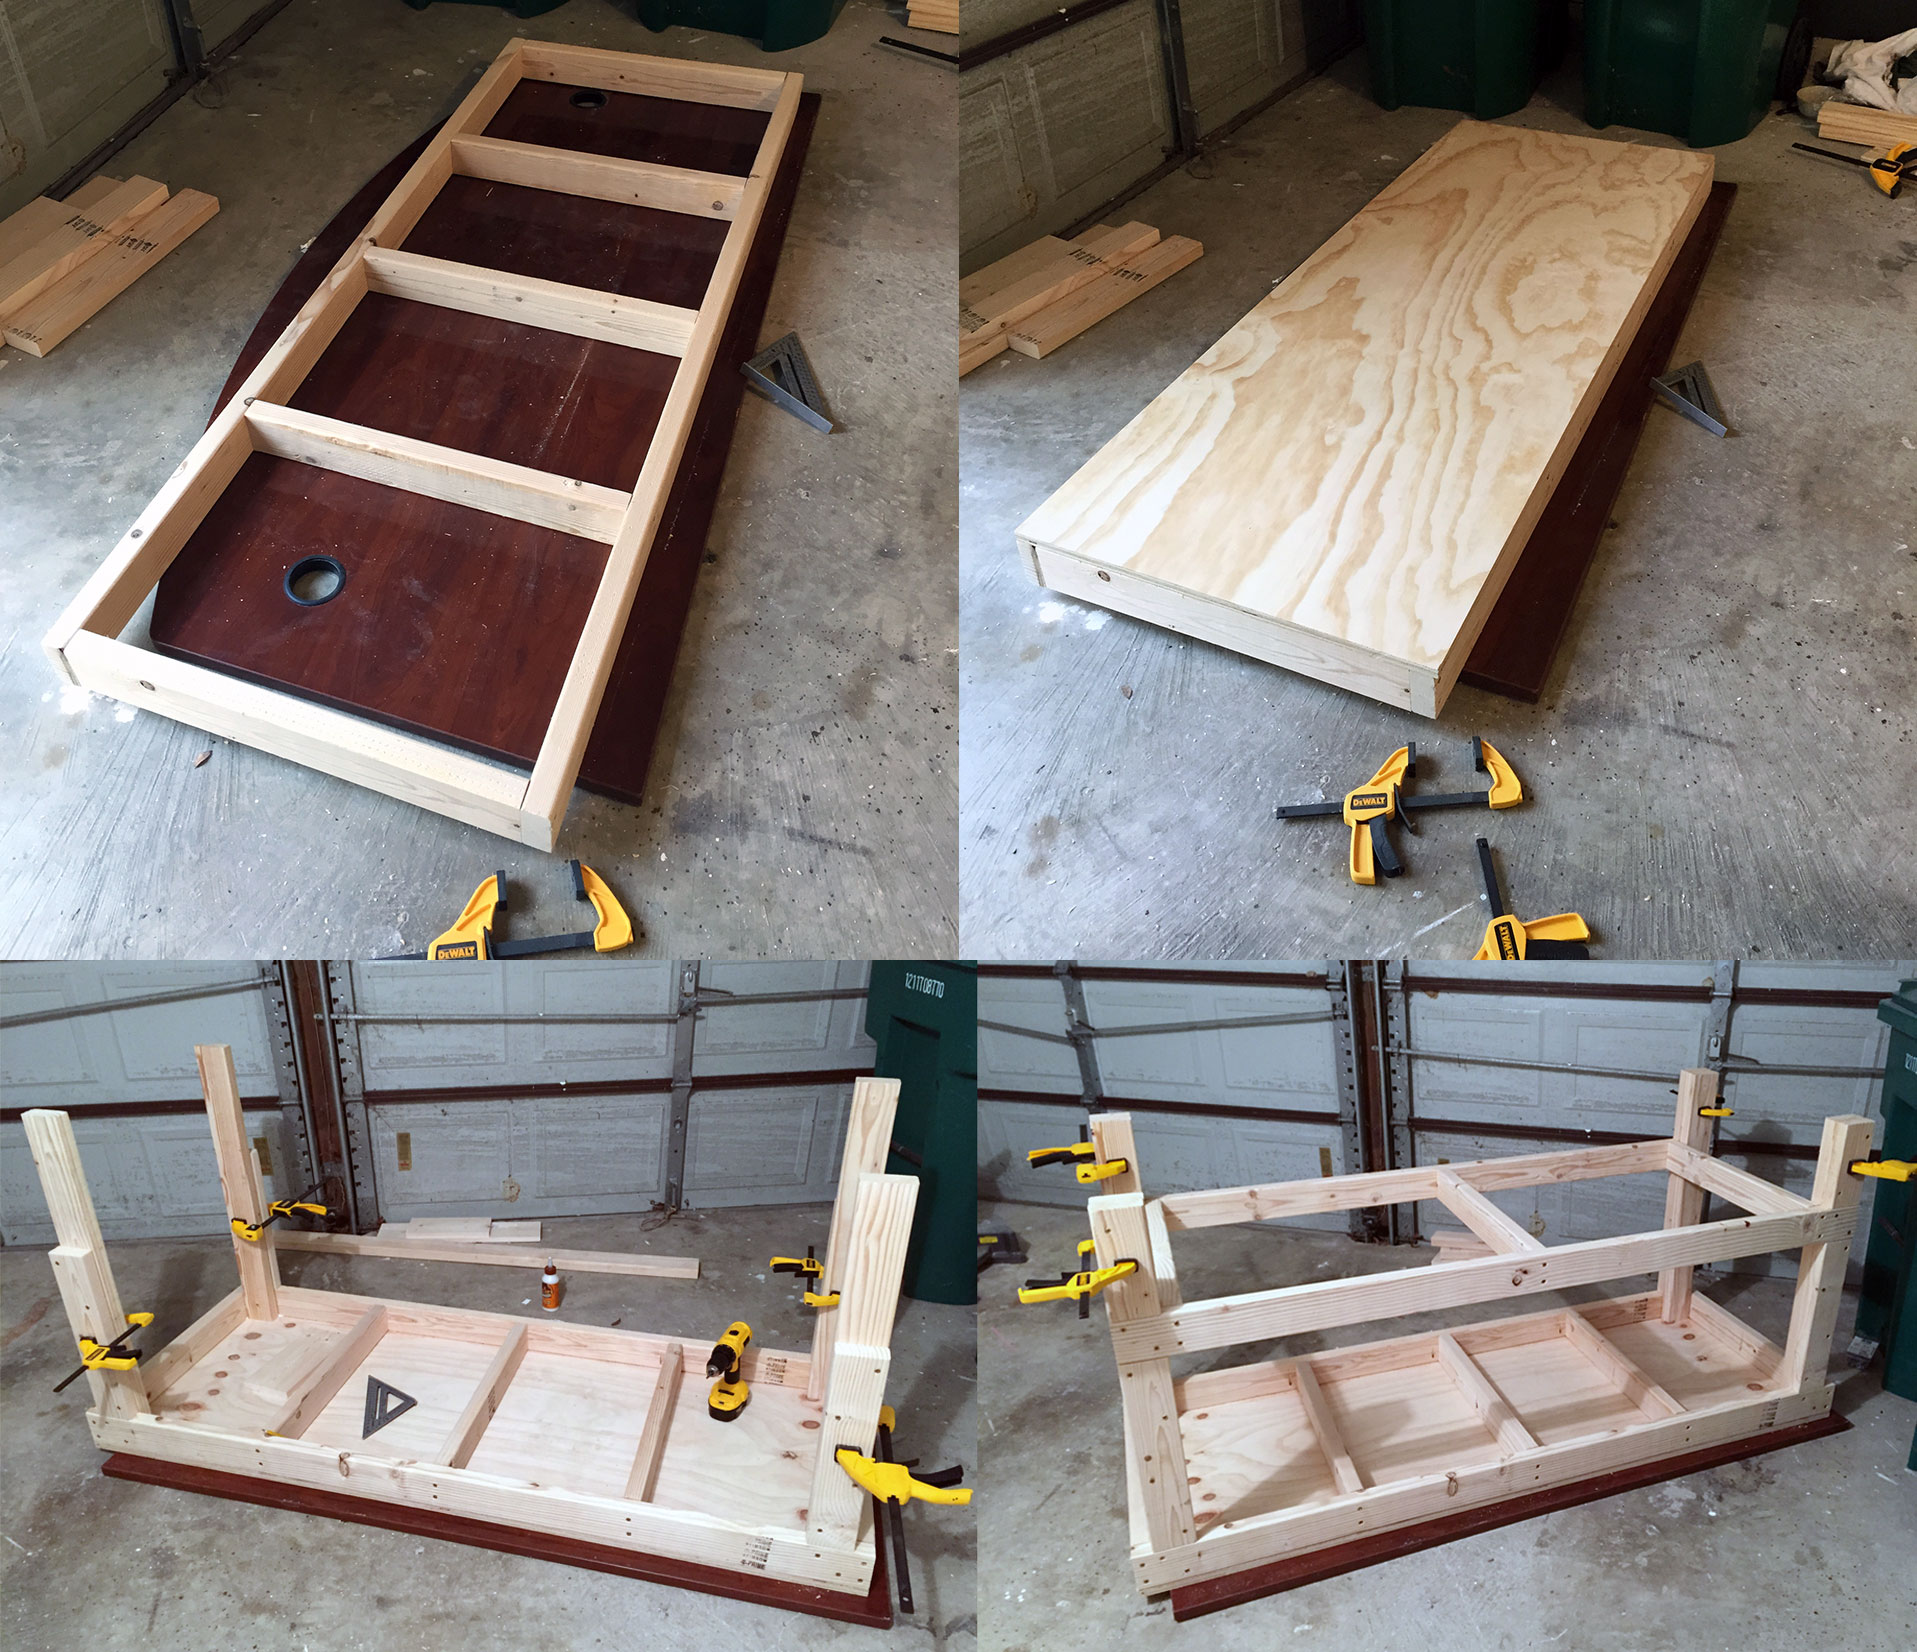
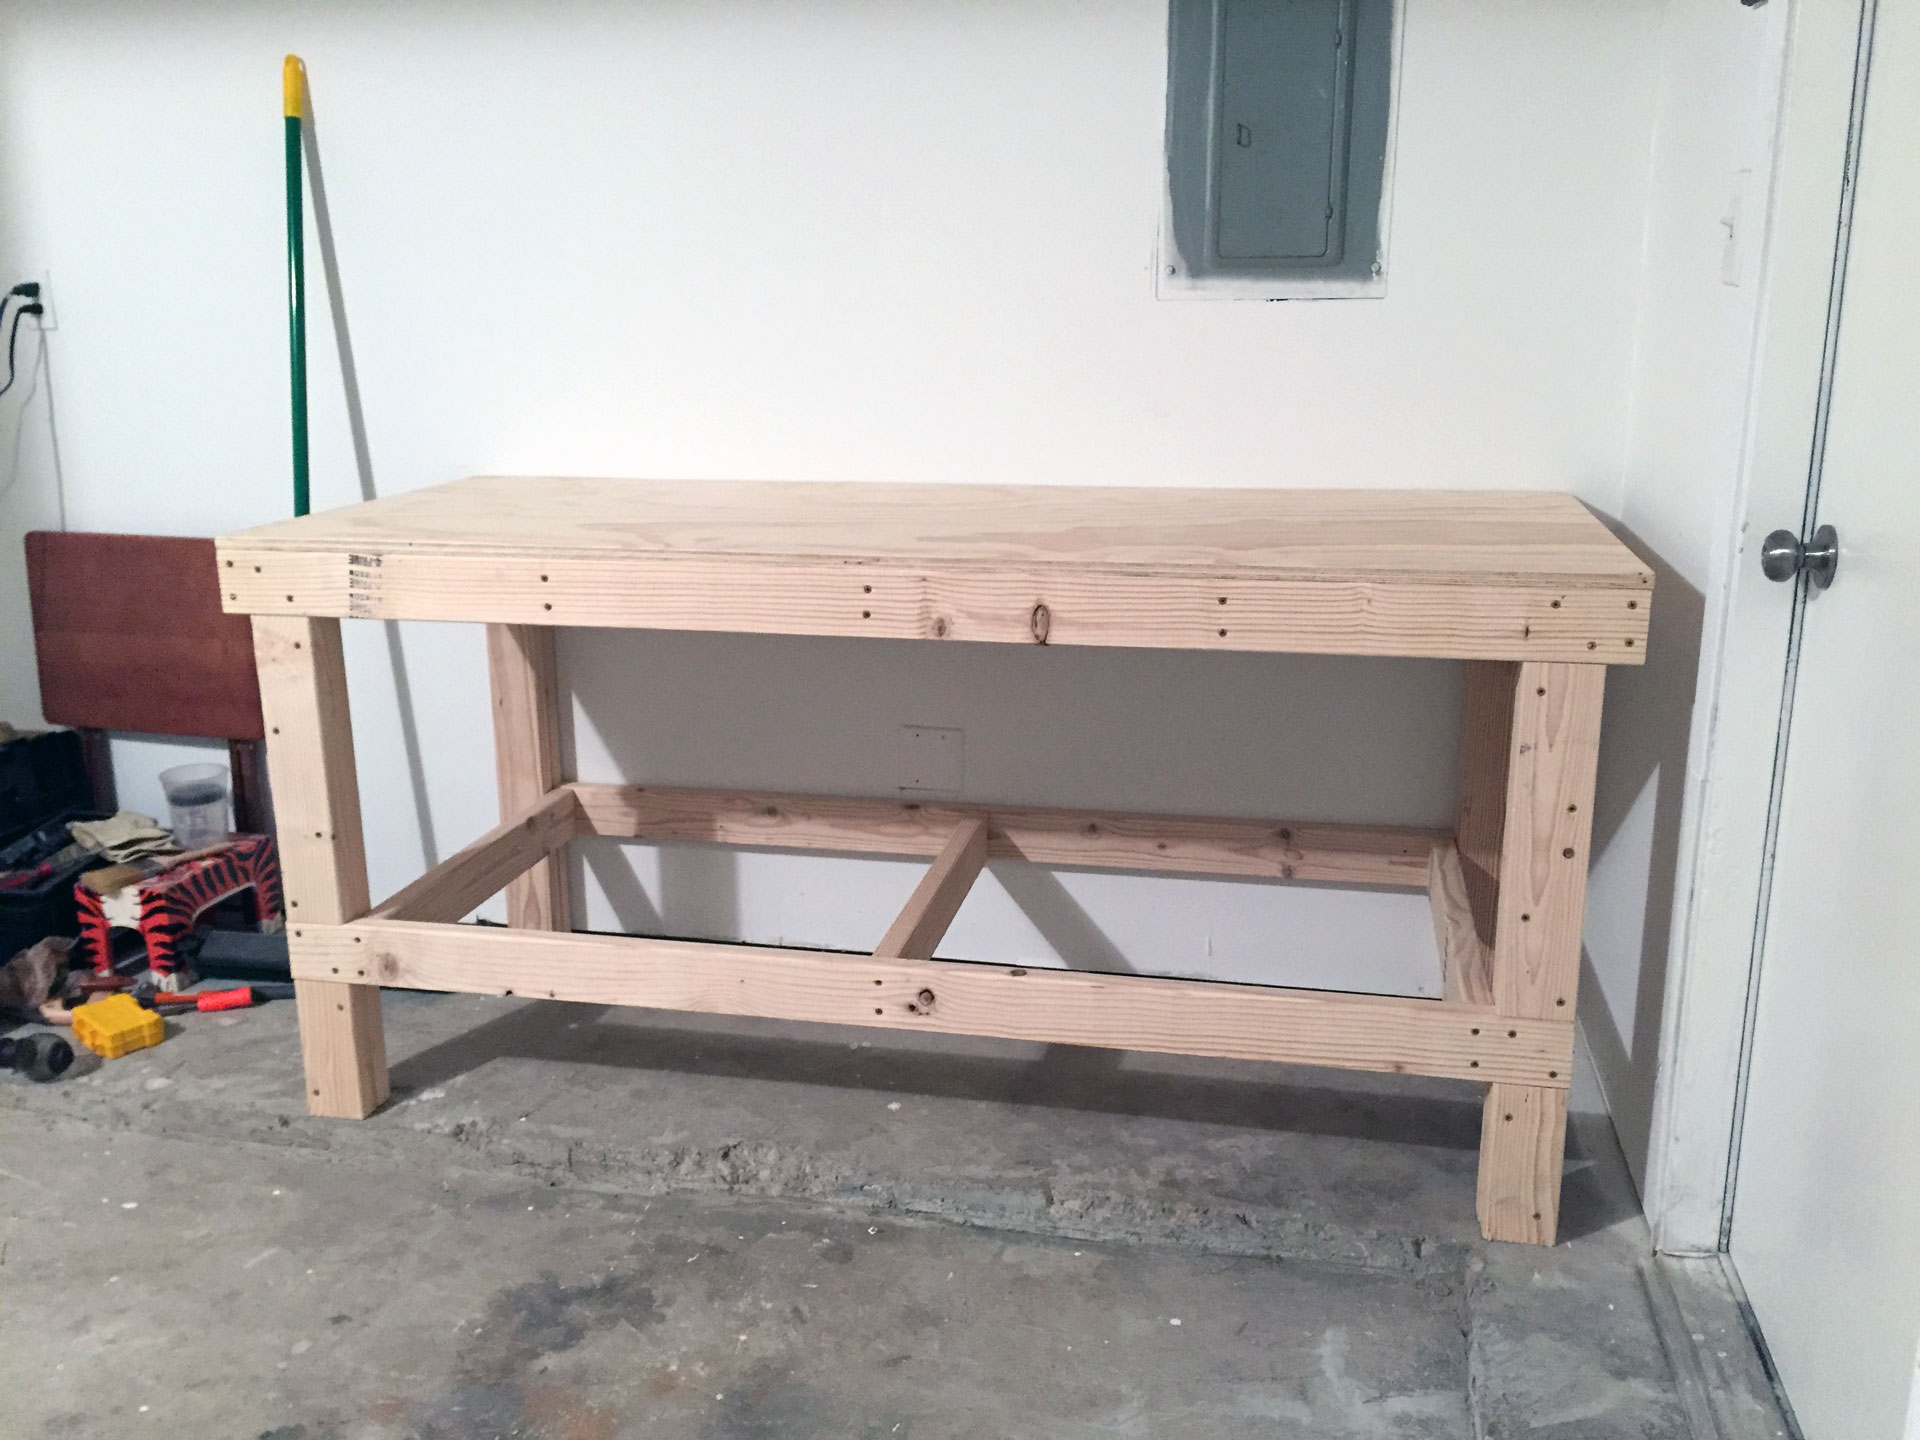
There’s a lip in my garage that’s about 2″ tall and 28″ deep, all along the back wall, which is 18 and a bit feet long, so I decided to fill it with workbenches. This meant that if I made 3 workbenches that were each 6ft long I would fill that wall up and have about 5″ of storage space at the end for brooms and such things. I found some plans here that I liked, so I kept the same height (33 ¾”) but made mine 6ft wide and 28″ deep. I had to buy a few more 2×4’s than the plans mention, but these are perfect for my work space.
The plans I linked to are also for 2 workbenches, for which they completely use 2 sheets of plywood. Since I was making mine bigger I couldn’t be as efficient, but I didn’t feel like buying another piece just for the shelf, so I managed to make the bottom shelf out of the off-cuts from the top. It ended up being 3 pieces instead of 1, so it doesn’t look great (hence why there are no pictures) but I’m never going to see it without stuff on it, so it doesn’t really matter.
The only other thing I did differently from the plans was that I attached the top with pocket holes. The plans called for just screwing in from the top, but I wanted a nice uniform surface so I decided pocket holes from underneath were the way to go. Unfortunately the 2×4 wood was a bit too soft and I was a bit too aggressive so the screws went too far and poked through the plywood top. Luckily my grandparents gave me a dremel kit for Christmas several years ago, so I used that with an aluminium oxide bit to grind down the sharp bits.